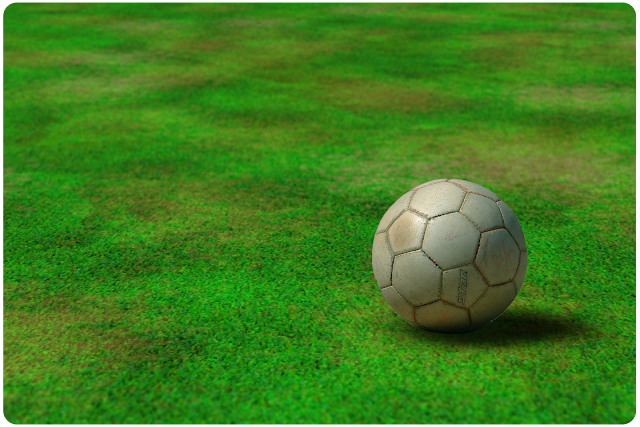
How to create realistic grass texture | Adobe Photoshop CC Tutorial | Blog
In this tutorial let's see how to create realistic grass texture using filters of Adobe Photoshop CC.
What you going to learn :
- Filter Gallery
- Blur Gallery / Distort / Noise and Stylize filters
- Masking
- Adding Adjustment Layers
Before start: Download the image from here
Step 1: Create a cloud
Step 2: Adding Filters
But it too smooth.to add some noise goto Filter > Noise > Add Noise. Then set amount as ‘30’ and distribution set as ‘Uniform’.
Now it’s a little noisy but not look like the grass. So I’m going to adding a couple of filters. Goto Filter > Filter Gallery. Now filter gallery filter will open. select the 'Texture' tab under the 'Texture' tab. Adjust it as below.
Then add the 'Grain' filter. To add another filter, click on the page icon bottom of the filter gallery window.
Adjust it as below.
You notice that some dark spots are remaining. To get rid it uses the Spot healing brush tool. Select the Spot Healing Brush Tool from the toolbar, left side of the window (Is it not there? Go to Edit > Toolbar, then find the tool from the popup window and add it to the toolbar). then draw over the dark spots.
To further shape up the grass, goto Filter > Stylize > Wind. In here select method as ‘Stagger’ and select the direction either left or right side.
 |
Goto Filter > Blur > Gaussian Blur. Radius set as 0.3px . |
 |
| Goto Filter > Distort > Ripple. Amount set as 60%.
|
Step 3: Appling to an Image
Now we going to apply this created texture to an image. Goto File > Open and open a suitable image (I will put the link of this image top of the page). It will open in a new document. Then drag the created texture into the opened image. To enter the free transformation, select the grass texture layer and press Ctrl + T. now move the mouse pointer over a free transformation box corner, hold Ctrl key and drag the corner.
In the layer panel, Unlock the opened image layer (click on small lock icon). Bring it to top (select the layer and press Ctrl + ]). Select the Ball with ‘Quick selection tool’ or other selection tools (Elliptical Marquee Tool).
Add a vector mask as visible only the ball.
Add adjustment layers (select the layer goto Image > Adjustments). Adjust the brightness and contrast as below.
To add the lens focus effect, goto Filter > Blur Gallery > Tilt-Shift.


Great. Thanks!
ReplyDelete